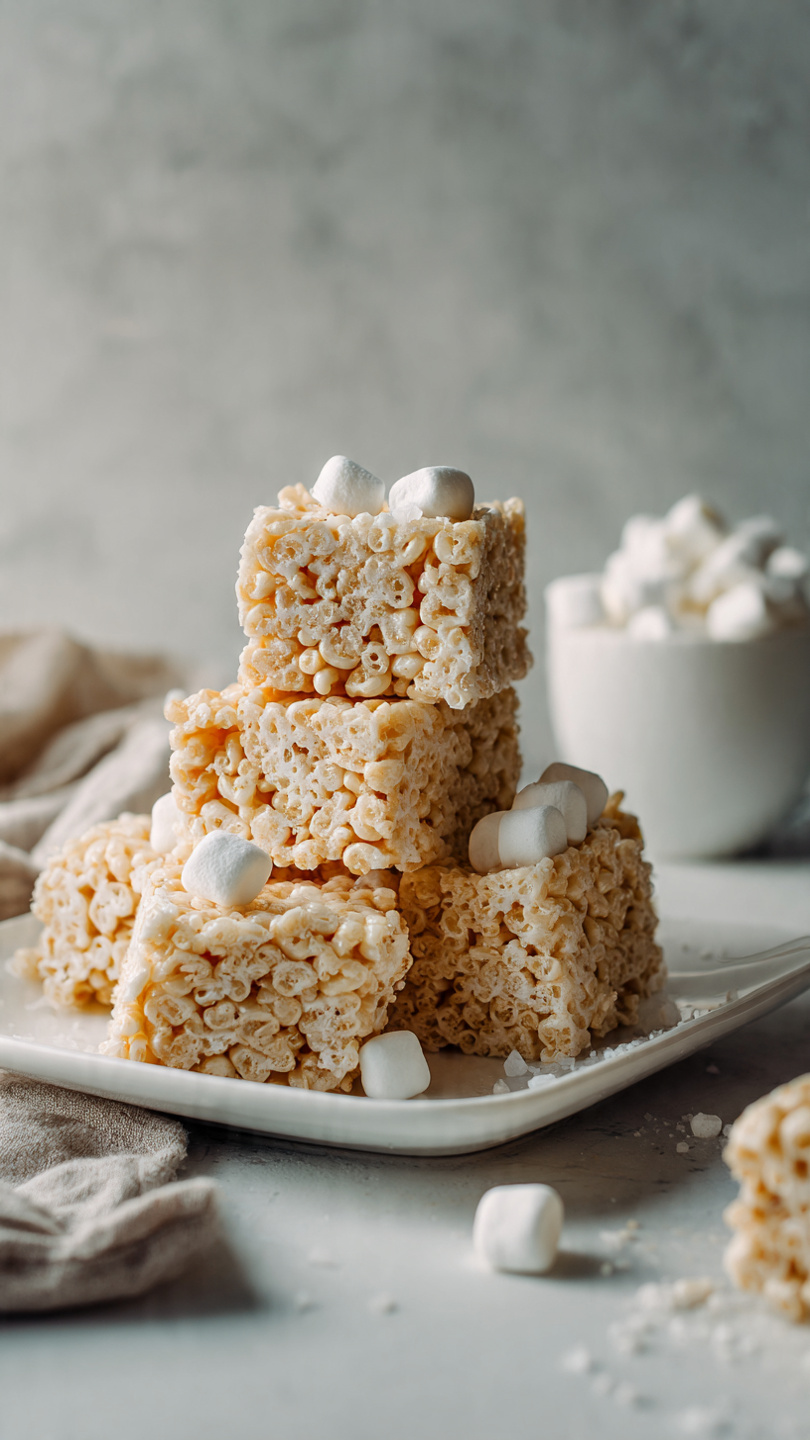
The Best Homemade Rice Krispie Treats (Soft, Gooey, and Irresistible)
These homemade Rice Krispie Treats are impossibly soft, stretchy, and packed with buttery marshmallow goodness. The ultimate no-bake dessert ready in under 20 minutes.

The Only Rice Krispie Treat Recipe You Will Ever Need
There is something almost magical about a perfectly made Rice Krispie Treat. That golden, buttery smell the moment it hits the pan. The satisfying pull when you bite into a square that is soft, chewy, and loaded with marshmallow. Whether you grew up making these from the back of the cereal box or you are discovering homemade rice crispy treats for the very first time, this recipe is going to completely change your expectations.
These are not the flat, rock-hard squares from a school bake sale. These marshmallow Krispie treats are thick, gooey, and deeply flavorful thanks to one simple technique most recipes skip entirely: brown butter.
Why This Recipe Actually Works
Most rice krispy recipes use the same four ingredients and the same method. So why do some batches turn out chewy and irresistible while others are dry and forgettable? It almost always comes down to technique and heat control.
Here is what makes this version of good Rice Krispie Treats different:
- Brown butter adds a rich, nutty, almost caramel-like depth that plain melted butter simply cannot match.
- Reserved marshmallows folded in at the end stay soft and create those dreamy gooey pockets throughout every bite.
- Low and slow heat keeps the marshmallow mixture silky instead of stiff.
- A pinch of sea salt cuts through the sweetness and makes every other flavor pop.
It sounds simple because it is. But these small choices are the difference between good and genuinely unforgettable rice crispy treats homemade from scratch.
Using quality ingredients and the right pan really does matter for this recipe. A heavy-bottomed pot distributes heat evenly so your butter browns without burning, and a proper 9x13 pan gives you thick, bakery-style squares every single time.
Tips for the Best Rice Krispies Every Time
Before you get started, keep these pointers in your back pocket:
Use a fresh bag of marshmallows. Older marshmallows have dried out slightly and will make your treats stiff. A fresh bag melts into something gloriously silky.
Do not skip the brown butter step. It only takes an extra 2 to 3 minutes and the flavor payoff is enormous. You will smell it when it is ready, a warm, toasty, nutty aroma.
Chef's Tip: Pull the pot off the heat the moment your marshmallows are fully melted. Residual heat from the pan will continue cooking the mixture. Leaving it on the stove even a minute too long is what makes edible Rice Krispie Treats turn into jaw-breaking ones.
Press gently. Buttered hands work best here. Pressing too hard squashes the air out of the treats and makes them dense. Think of it as tucking them in, not packing them down.
For a cream cheese Rice Krispie Treats variation, stir 4 oz of softened cream cheese directly into the melted marshmallow mixture before adding the cereal. It gives every square a subtle cheesecake tang that pairs incredibly well with the sweet marshmallow base.
Variations Worth Trying
Once you have the base recipe down, the creative options are endless:
- Chocolate drizzle with melted dark chocolate over the top before it sets
- Funfetti style with rainbow sprinkles folded in with the cereal
- Peanut butter by swirling in 0.25 cup of creamy peanut butter with the marshmallows
- S'mores version with crushed graham crackers and mini chocolate chips mixed in
No matter which direction you take them, the foundation of this Rice Krispy recipe stays exactly the same.
Ready to make the best marshmallow Krispie treats of your life? Here is everything you need:
The Best Homemade Rice Krispie Treats (Soft, Gooey, and Irresistible)
These homemade Rice Krispie Treats are impossibly soft, stretchy, and packed with buttery marshmallow goodness. The ultimate no-bake dessert ready in under 20 minutes.
Ingredients
- 6 tbsp unsalted butter, plus extra for greasing the pan
- 10 cups mini marshmallows, divided, fresh bag recommended for best results
- 6 cups Rice Krispies cereal, measured loosely, not packed
- 1 tsp vanilla extract, pure, not imitation
- 1/4 tsp fine sea salt, plus a pinch for topping if desired
Instruction
Grease a 9x13 inch baking pan generously with butter or non-stick spray. Set aside.
In a large pot or Dutch oven, melt the butter over medium-low heat, stirring occasionally. Let it cook for 2 to 3 minutes until it turns lightly golden and smells nutty. This is brown butter and it is the secret to incredible flavor.
Reduce the heat to low and add 9 cups of the mini marshmallows to the pot. Stir constantly until the marshmallows are completely melted and the mixture is smooth, about 3 to 4 minutes.
Remove the pot from the heat immediately. Stir in the vanilla extract and fine sea salt.
Add the Rice Krispies cereal and fold gently with a buttered spatula until everything is just combined. Do not over-mix or the treats will become dense and tough.
Fold in the remaining 1 cup of mini marshmallows off the heat. These stay slightly intact and create irresistible gooey pockets throughout the finished treats.
Transfer the mixture into your prepared pan. Using buttered hands or a buttered spatula, press the mixture in gently and evenly. Do not press too hard or you will compact them and lose that soft, airy texture.
Let the treats cool at room temperature for at least 30 minutes before cutting into 16 squares. For clean cuts, use a buttered knife.
Equipment
- 9x13 inch baking pan
- Large pot or Dutch oven
- Rubber or silicone spatula
- Sharp knife
Notes
Serving and Storing Your Treats
Cut these into 16 generous squares for a crowd or go bigger for a more indulgent dessert portion. They are wonderful as-is, but a light dusting of flaky sea salt right after pressing them into the pan takes them fully over the top.
Store leftovers in an airtight container at room temperature for up to 3 days. Tuck a slice of plain bread into the container to keep the squares soft overnight. Skip the refrigerator entirely since cold air turns these stiff and dry very quickly.
These rice crispy treats homemade are ideal for bake sales, birthday parties, after-school snacks, or honestly just a Tuesday night when you want something sweet and satisfying without turning on the oven.