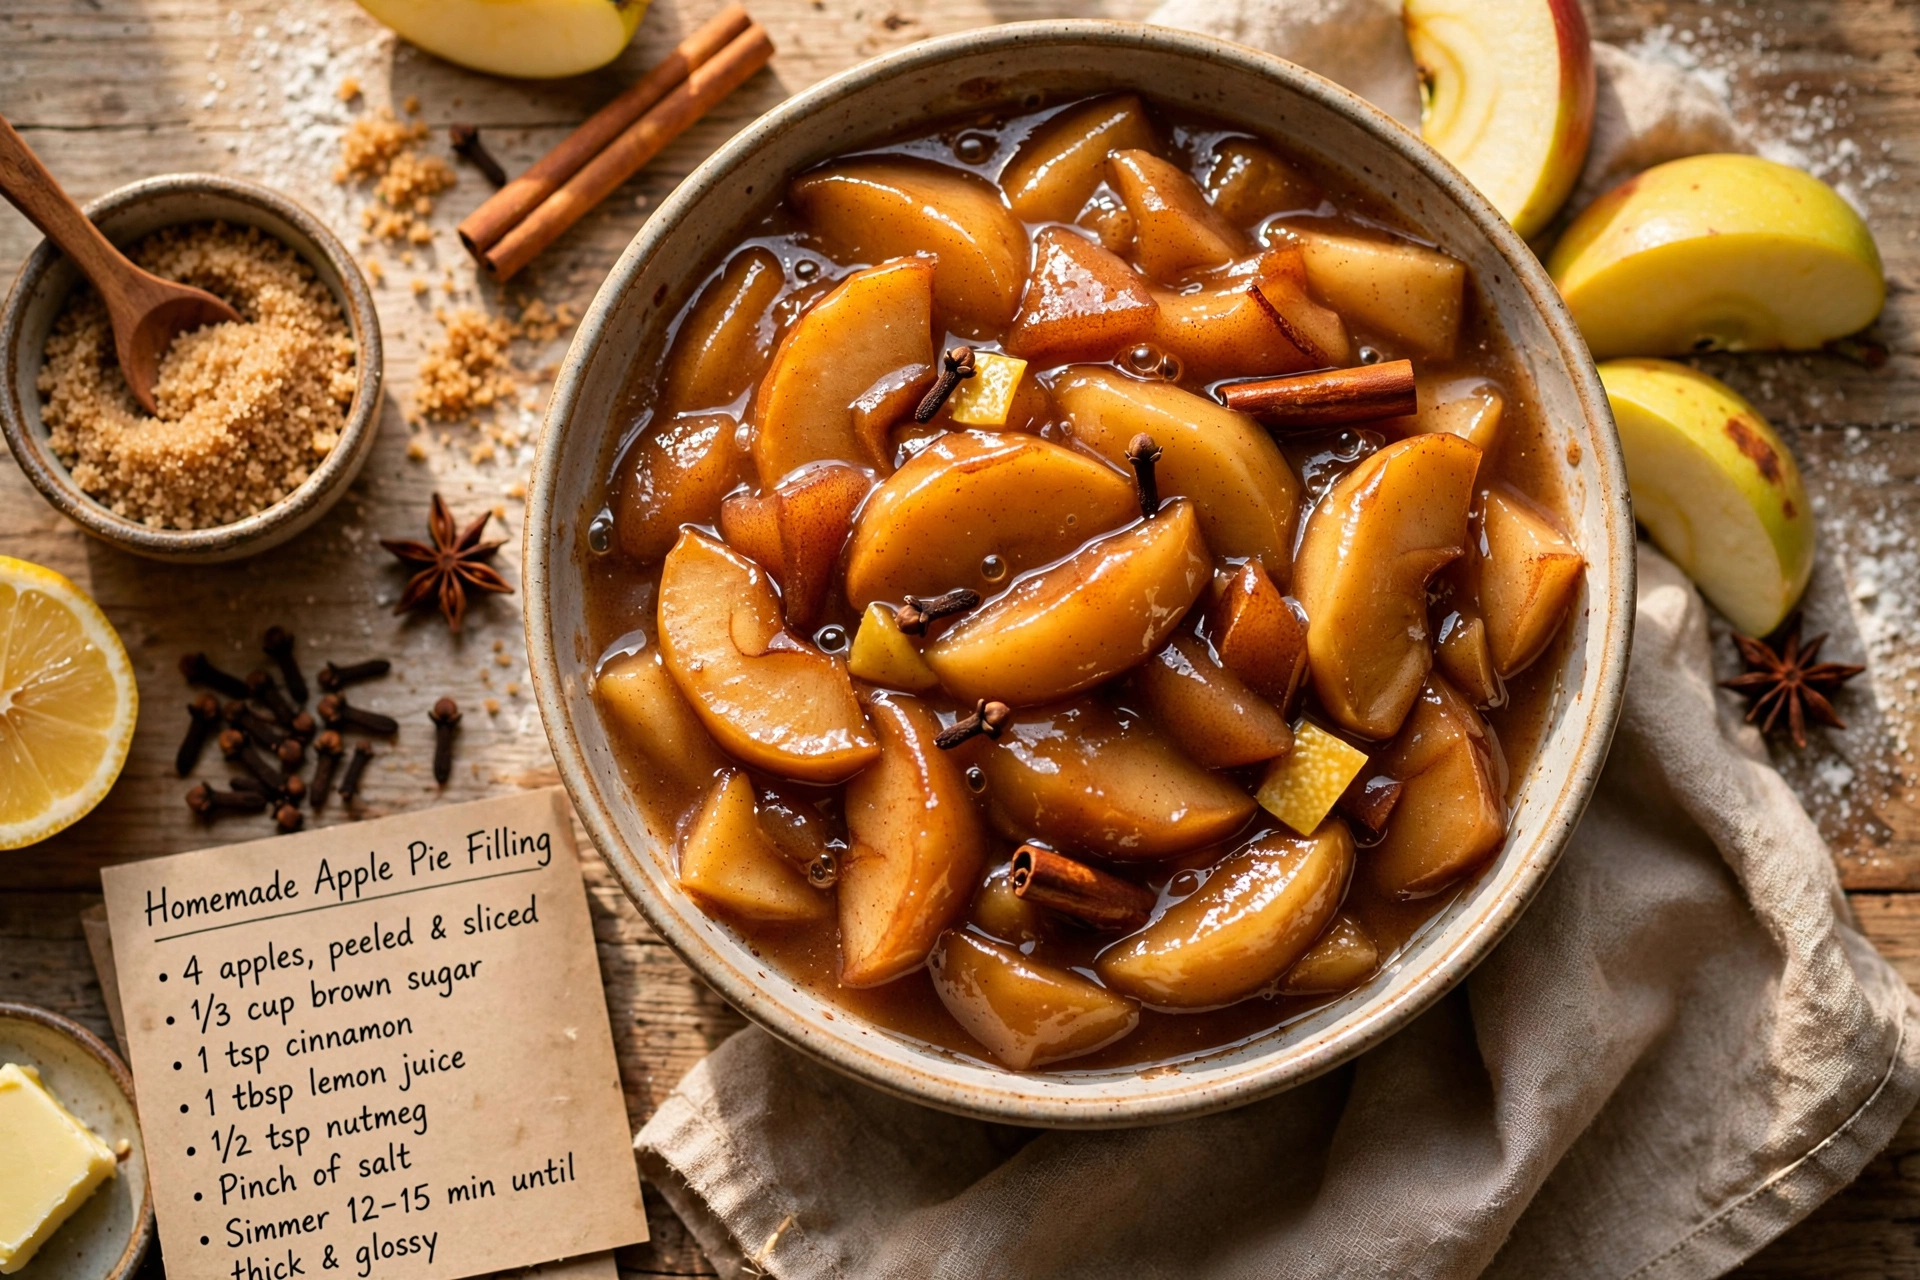
Homemade Apple Pie Filling
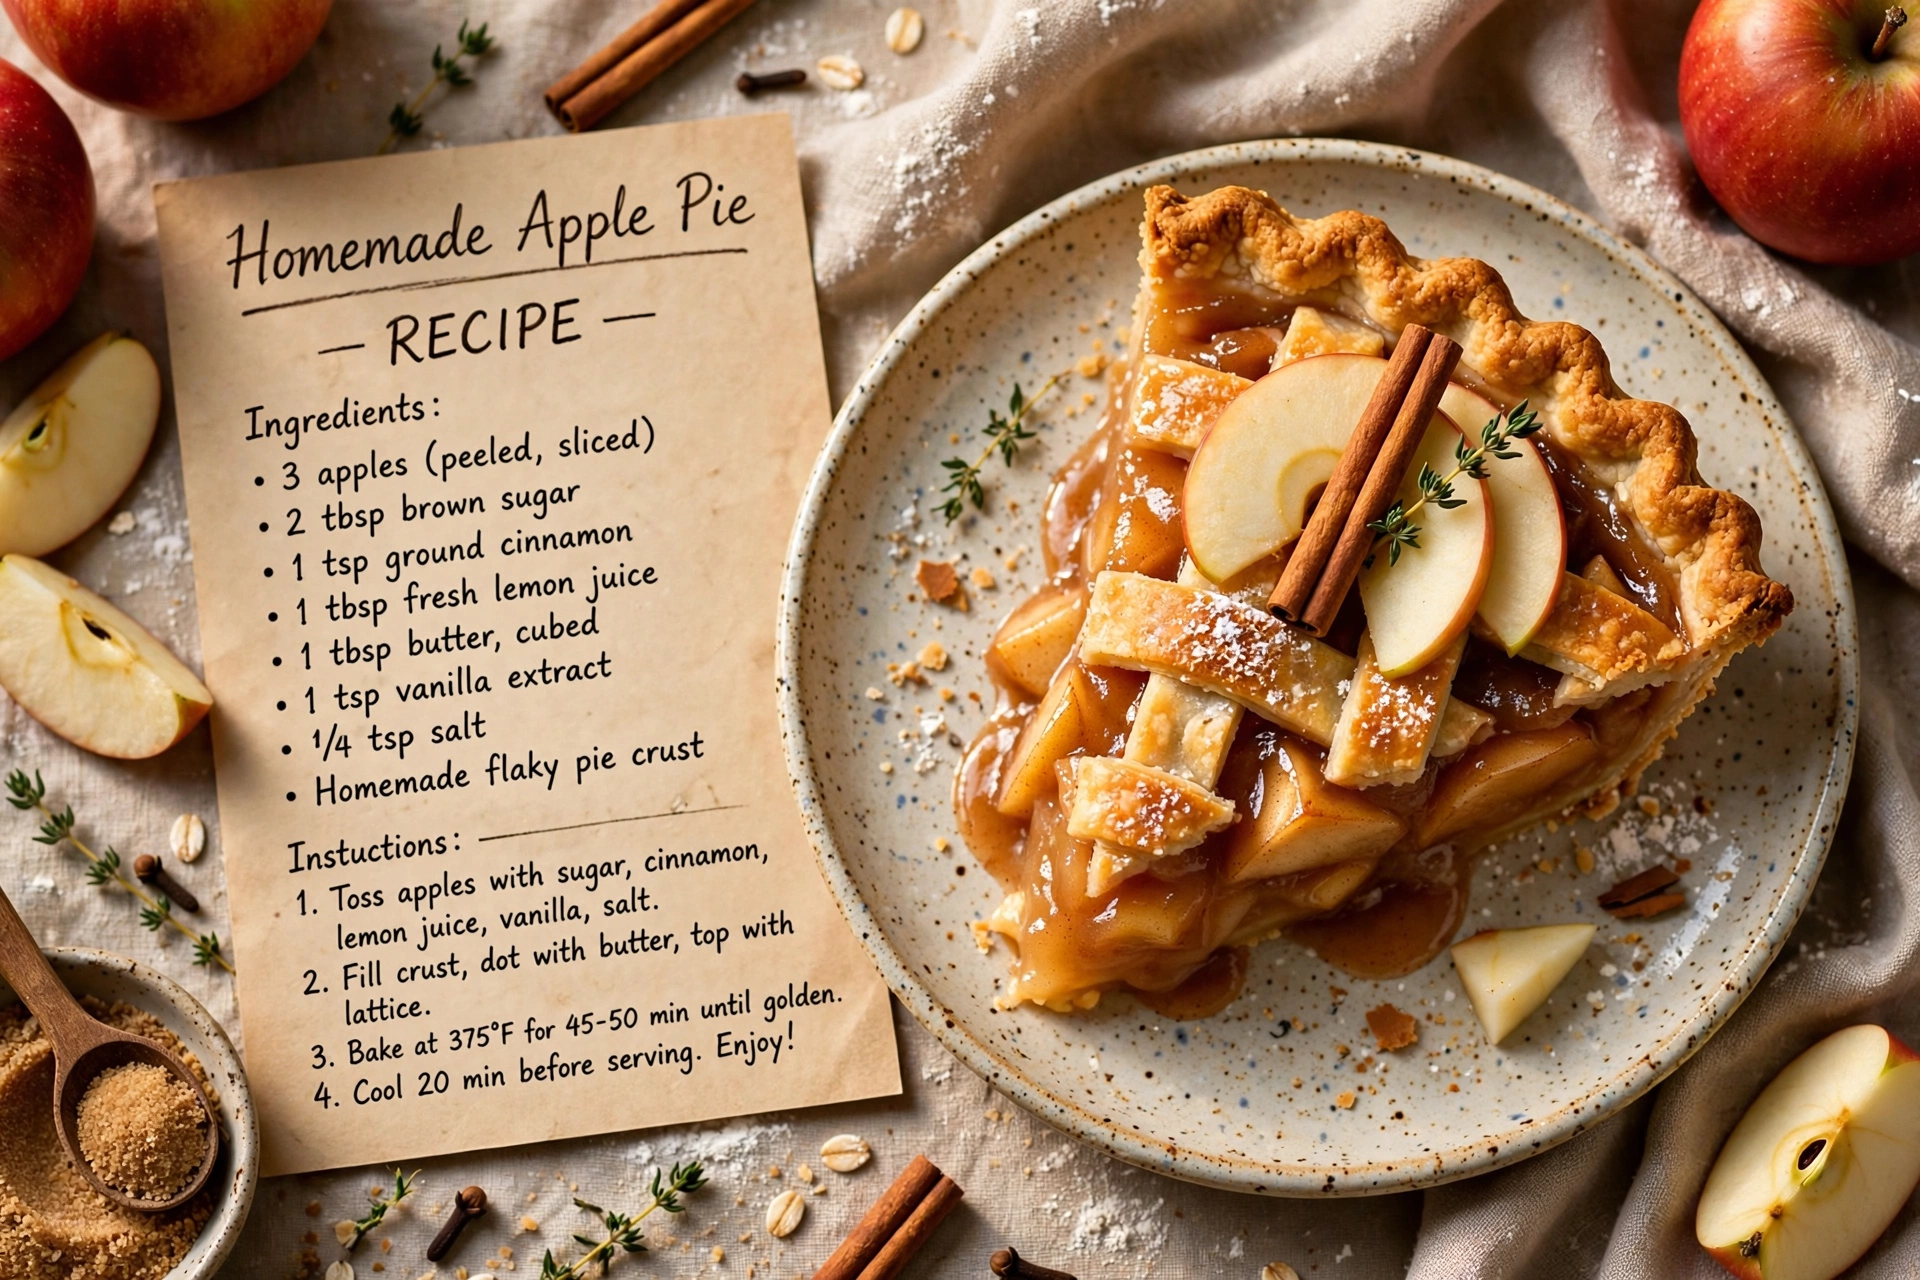
This homemade apple pie filling is thick, glossy, and packed with warm cinnamon spice, made from fresh apples in one pot for the best pie you've ever baked.

Why You'll Love This Homemade Apple Pie Filling
There is something deeply comforting about a pot of apples bubbling away on the stove, filling the kitchen with cinnamon and warm sugar. This homemade apple pie filling recipe takes that comfort and turns it into something you can actually control. No mystery syrup, no strange preservatives, just fresh apples, real spices, and a thick, glossy sauce that clings to every slice.
If you have ever searched for how to make apple pie filling from fresh apples, you already know the payoff is worth it. This is a thick apple pie filling that holds its shape when sliced, meaning no soupy mess when you cut into your pie. It is also endlessly versatile. Once you know how to make apple filling this good, you will want to keep a jar in the fridge at all times.
Before we get cooking, the right tools and ingredients make a real difference here. A heavy-bottomed pot prevents scorching, and a reliable peeler saves you a surprising amount of time when you are working through eight apples. These are the products that genuinely help this recipe shine:
Choosing the Best Apples for Pie Filling
Not all apples behave the same way once they hit the heat. For the best texture, you want a mix of a tart, firm apple and a naturally sweet one.
- Granny Smith brings tartness and holds its structure beautifully
- Honeycrisp adds natural sweetness and a satisfying bite
- Braeburn or Jonagold are great middle-ground options if you want just one variety
Avoid apples labeled as best for eating fresh, like Red Delicious, since they tend to turn mushy and watery once cooked.
Chef's Tip: Slice your apples to a consistent thickness, about a quarter inch. Uneven slices mean some pieces turn to mush while others stay crunchy.
The Secret to Thick, Glossy Filling
The difference between a runny filling and a genuinely amazing homemade apple pie comes down to two things: cornstarch and patience. Whisking the cornstarch into cold water first, rather than dumping it straight into the hot pot, prevents lumps and ensures the filling thickens evenly.
Once the slurry goes in, resist the urge to walk away. Stir constantly for those few crucial minutes as the sauce transforms from cloudy and thin to glossy and thick enough to coat the back of a spoon. That visual cue is exactly what you are looking for.
A small splash of lemon juice does double duty here. It brightens the overall flavor and helps keep the apple slices from browning while they cook, so your filling stays a beautiful golden color.
Ways to Use This Filling
While this is technically fresh apple pie filling, it is far too good to save for pie alone. Consider spooning it over:
- Warm pancakes or waffles
- A bowl of vanilla ice cream
- Baked oatmeal or overnight oats
- Toasted pound cake or shortcake
It also freezes wonderfully, so doubling the batch during apple season means you always have a jar ready to go.
Ready to make it? Here is the full step-by-step recipe:
Homemade Apple Pie Filling
This homemade apple pie filling is thick, glossy, and packed with warm cinnamon spice, made from fresh apples in one pot for the best pie you've ever baked.
Ingredients
- 8 apples, peeled, cored, and sliced 1/4 inch thick, Granny Smith or Honeycrisp work best
- 3/4 cup granulated sugar
- 1/2 cup light brown sugar, packed
- 3 tbsp cornstarch
- 1 1/2 tsp ground cinnamon
- 1/4 tsp ground nutmeg
- 1/4 tsp salt, fine sea salt
- 1 cup water, divided
- 1 tbsp lemon juice, freshly squeezed
- 1 tbsp unsalted butter, optional, for richness
Instruction
Peel, core, and slice the apples into even 1/4 inch thick pieces so they cook uniformly.
In a small bowl, whisk the cornstarch with 1/4 cup of the water until completely smooth. Set the slurry aside.
In a large, heavy-bottomed pot or Dutch oven, combine the apples, granulated sugar, brown sugar, cinnamon, nutmeg, salt, the remaining 3/4 cup water, and lemon juice.
Bring the mixture to a gentle boil over medium heat, stirring occasionally, then reduce the heat to a simmer for about 5 minutes until the apples begin to soften slightly.
Give the cornstarch slurry a quick re-whisk, then pour it into the pot while stirring constantly.
Continue to cook for 3 to 5 minutes, stirring often, until the filling thickens into a glossy sauce that coats the back of a spoon.
Remove the pot from the heat and stir in the butter, if using, until melted and glossy.
Let the filling cool for at least 20 minutes before using it in a pie, or transfer it to jars to cool completely for storage.
Equipment
- Large heavy-bottomed pot or Dutch oven
- Vegetable peeler
- Sharp knife and cutting board
- Mixing bowl
- Whisk
- Wooden spoon
Notes
Storing and Reheating Your Apple Filling
Once cooled, transfer your easy apple filling into an airtight container or glass jar. It keeps well in the refrigerator for up to five days, making it one of the easiest cooked apple pie fillings to prep ahead of a holiday or gathering.
For longer storage, portion the cooled filling into freezer-safe bags, laying them flat so they stack neatly in the freezer. It will keep for up to three months. When you are ready to use it, thaw it overnight in the refrigerator, then give it a good stir before spooning it into your pie crust.
Chef's Tip: If your thawed filling looks a little watery, simmer it for a few minutes on the stove to re-thicken before using it in a pie.
Final Thoughts
Once you make this homemade apple pie filling from scratch, it is hard to go back to anything from a can. It is thick, deeply spiced, and made entirely from ingredients you can pronounce. Whether you are building a classic double crust pie or simply spooning it over breakfast, this recipe earns its place as a fall kitchen staple.