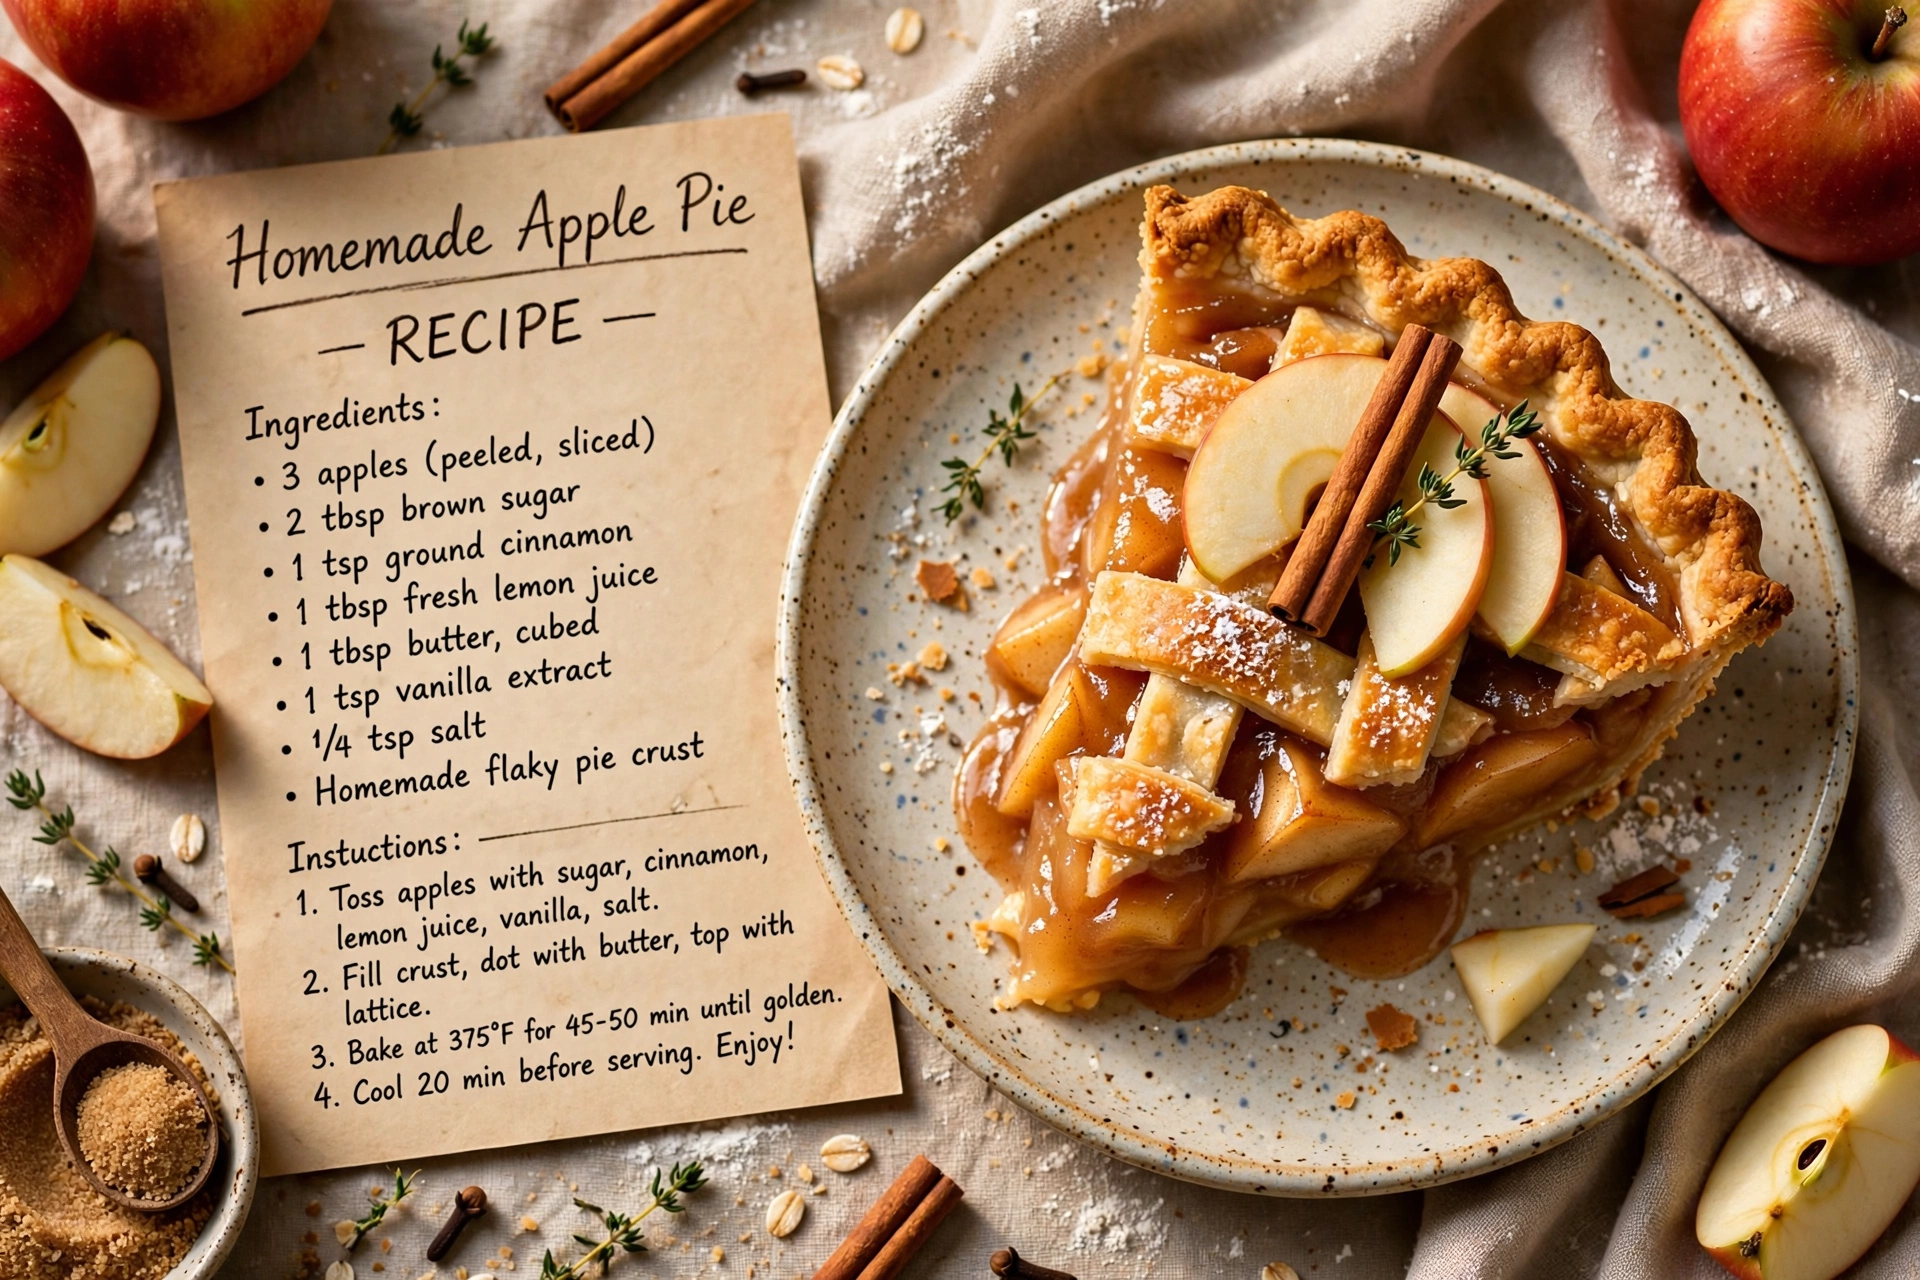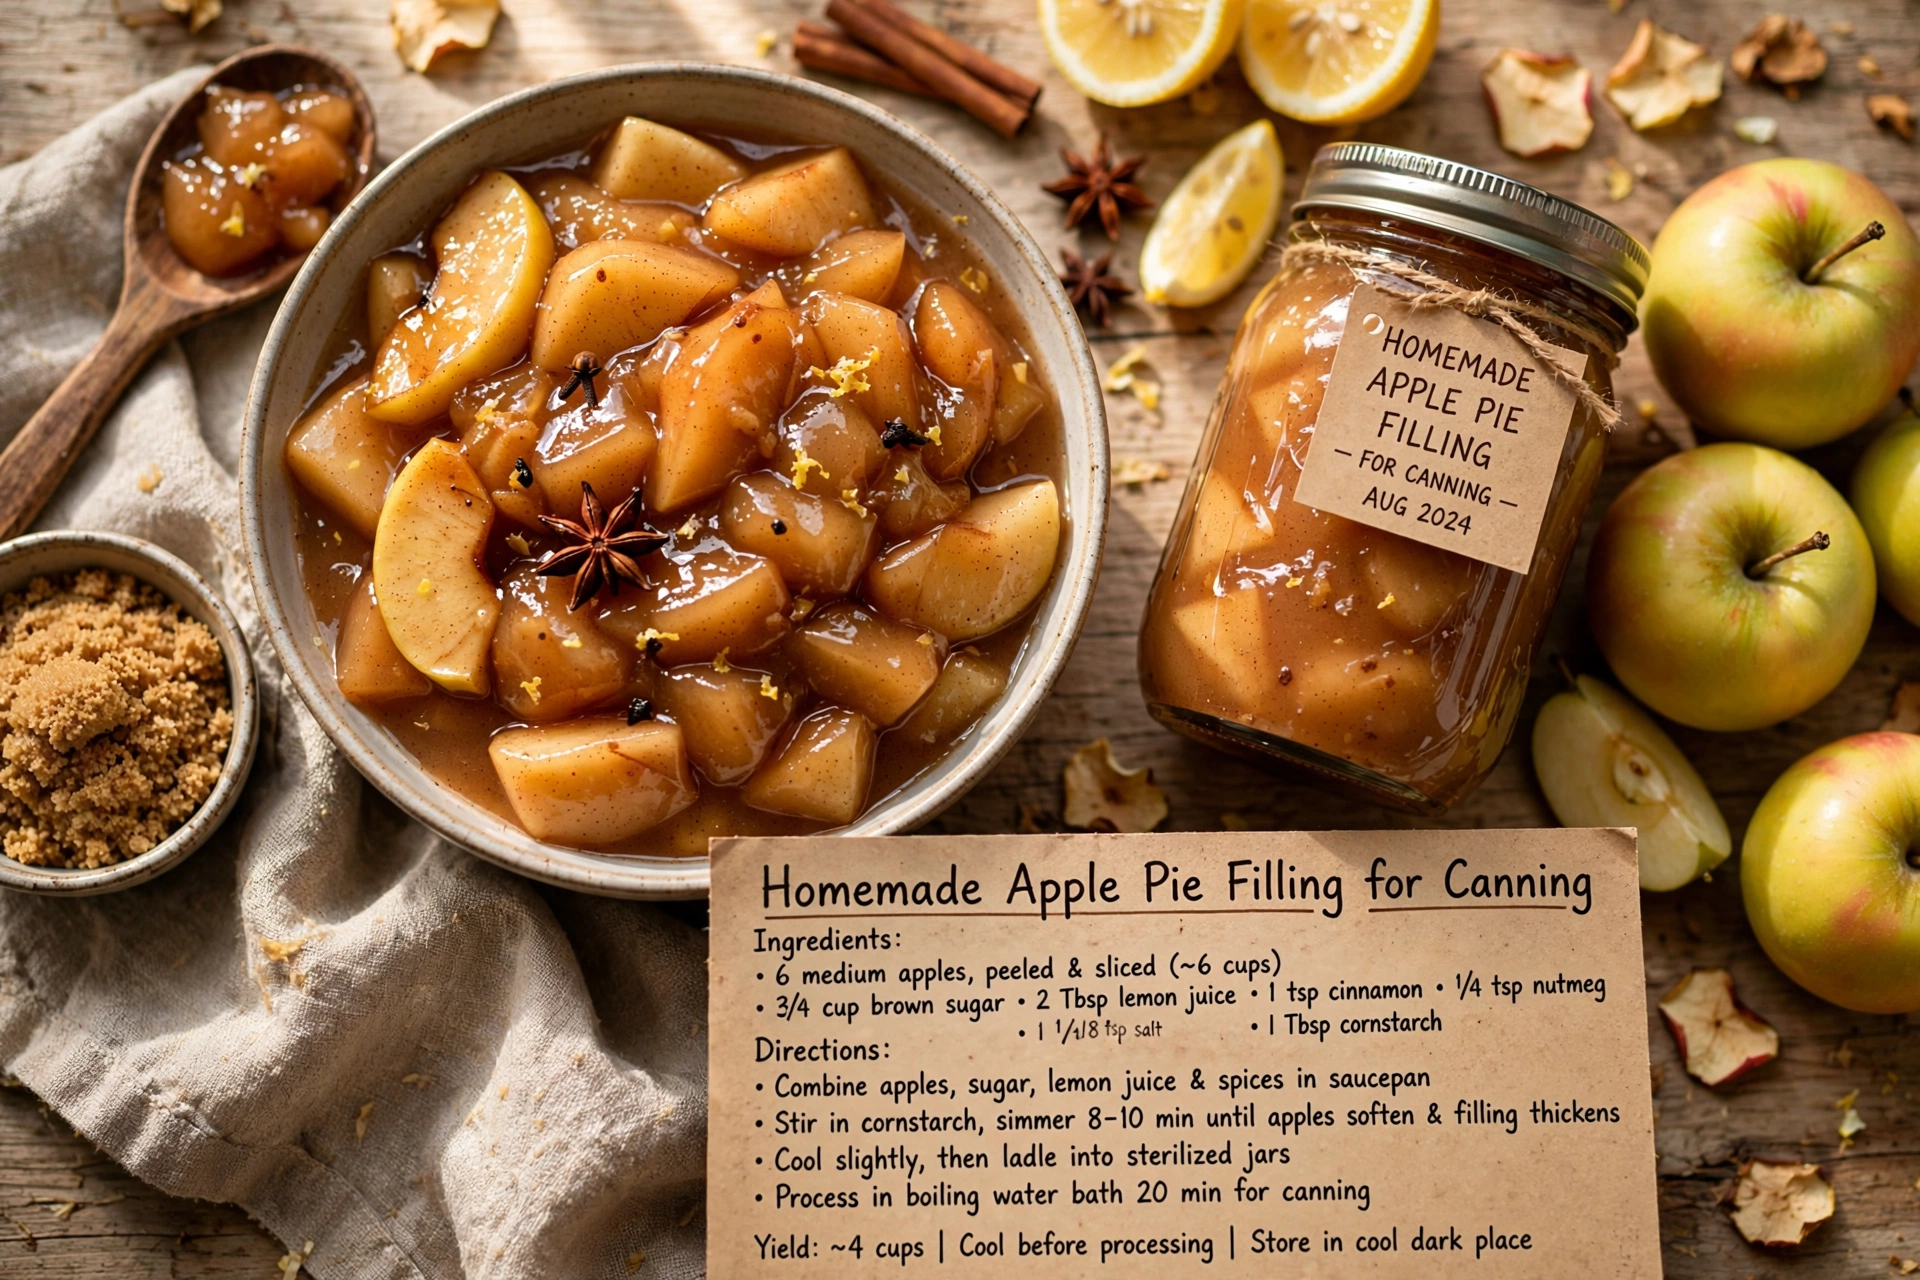
Homemade Apple Pie Filling for Canning
Learn how to make and can apple pie filling at home with this easy, no Clear Jel method, so you can enjoy a fresh apple pie any night of the year.

Why You'll Love This Apple Pie Filling for Canning
There is something deeply satisfying about opening your pantry in the middle of January and pulling out a jar of glossy, cinnamon spiced apple pie filling that you made yourself back in the fall. This recipe walks you through exactly how to make and can apple pie filling using a simple, reliable, no Clear Jel method, so you don't need any specialty thickeners you can't find at your regular grocery store.
Whether you're canning apples for pie filling from a backyard tree or a big bag from the farmers market, this method gives you consistently thick, never watery, never gluey filling every single time.
Before we get cooking, the right tools and ingredients make a real difference here. A sturdy water bath canner, a reliable jar lifter, and fresh, quality lids are what stand between you and a pantry full of shelf stable jars. Using bottled lemon juice instead of fresh is also key, since it guarantees the acidity level needed for safe canning.
The Secret to Canning Apple Pie Filling Without Clear Jel
Most traditional canning apple pie filling recipes call for Clear Jel, a modified cornstarch that holds up better to the high heat of processing. It's a great product, but it isn't always easy to find. The good news is that a well tested, USDA style method using cornstarch works beautifully too, as long as you follow the ratios and processing times closely.
The trick is cooking the sugar, cornstarch, and water into a syrup before adding the apples, rather than tossing raw cornstarch directly onto the fruit. This gives you a smooth, evenly thickened filling with no clumps or starchy taste.
Chef's Tip: Blanching your apple slices for just one minute before adding them to the syrup helps stop enzymatic browning and gives the fruit a slightly firmer, pie perfect texture after processing.
Choosing and Prepping Your Apples
Not every apple is cut out for canning. You want a firm, tart variety that holds its shape through the cooking and processing steps rather than turning to mush. Some great options include:
- Granny Smith for a classic tart bite
- Honeycrisp for a slightly sweeter, still firm result
- Braeburn or Jonagold for a nice balance of sweet and tart
Avoid softer varieties like Red Delicious or McIntosh, since they tend to break down too much during the water bath process.
Once you've picked your apples, peel, core, and slice them into even, roughly half inch pieces. Consistent sizing means every bite cooks and thickens evenly, both now and later when you finally bake that pie.
Step by Step: How to Can Apple Pie Filling Safely
Canning always comes with a few non negotiable rules, and this recipe follows tested guidelines to keep your filling both delicious and safe to store at room temperature. That means sticking to the exact proportions of sugar, cornstarch, and lemon juice listed, using properly sized jars, and processing for the full recommended time.
Ready to make it? Here is the full step-by-step recipe:
Homemade Apple Pie Filling for Canning
Learn how to make and can apple pie filling at home with this easy, no Clear Jel method, so you can enjoy a fresh apple pie any night of the year.
Ingredients
- 6 lb apples, peeled, cored, and sliced, Granny Smith or other firm baking apples
- 2 cups granulated sugar
- 1 cup cornstarch, the thickener of choice for this no Clear Jel method
- 2 tsp ground cinnamon
- 1/2 tsp ground nutmeg, optional
- 3/4 cup lemon juice, bottled, for consistent acidity
- 5 cups water, divided
- 1/4 tsp salt
Instruction
Wash, peel, core, and slice the apples into 1/2 inch thick pieces. You'll need about 6 pounds, roughly 18 to 20 medium apples.
Prepare your jars, lids, and canner. Wash quart or pint jars in hot soapy water and keep them warm. Fill your water bath canner with water and begin heating it.
Blanch the apple slices in batches. Boil them in water for 1 minute, then drain and keep warm in a covered bowl.
In a large stockpot, whisk together the sugar, cornstarch, cinnamon, nutmeg, and salt.
Stir in 5 cups of water and the lemon juice. Cook over medium high heat, stirring constantly, until the mixture thickens and starts to bubble, about 5 to 7 minutes.
Fold the warm, drained apple slices into the thickened syrup and gently stir to coat. Bring the whole mixture back to a boil for 1 minute.
Ladle the hot filling into your prepared jars, leaving 1 inch of headspace.
Run a bubble remover or non metal spatula around the inside of each jar to release trapped air, then wipe the rims clean with a damp cloth.
Center a lid on each jar and screw on the band until fingertip tight.
Process the jars in a boiling water bath canner for 25 minutes for quarts (20 minutes for pints), adjusting for your altitude if needed.
Turn off the heat, remove the canner lid, and let the jars sit in the water for 5 minutes before removing them to a towel lined counter.
Let the jars cool undisturbed for 12 to 24 hours, then check the seals, label, and store in a cool, dark place.
Equipment
- Water bath canner
- Canning jars with lids and bands
- Large stockpot
- Jar lifter
- Canning funnel
- Bubble remover or spatula
Notes
Serving, Storing, and Using Your Canned Apple Pie Filling
Once your jars have cooled and sealed, label them with the date and tuck them into a cool, dark cupboard or pantry. Properly sealed jars will keep for up to a year, though the flavor and texture are best within the first six to nine months.
When you're ready to bake, simply pour a jar (or two, for a deep dish pie) into your favorite pie crust, or use it as a warm topping for pancakes, waffles, ice cream, or a quick crisp. It's also wonderful stirred into oatmeal on a cold morning.
Chef's Tip: Always let sealed jars sit undisturbed for a full 24 hours before moving or stacking them, and never flip a jar upside down to check the seal. A gentle press on the center of the lid is all you need. If it doesn't flex or pop, you're good to go.
However you decide to use it, this homemade filling brings the taste of a fresh baked apple pie to your table with almost no effort, exactly when you need it most.